
You have many options when it comes to choosing a color calibrated display monitor for your job. There are many brands and each brand offers different features. Before you buy, it is important to learn about the pros of each model.
Spyder5ELITE
If you're having trouble calibrating your monitor, the Datacolor Spyder5ELITE color calibration system is here to help. This system has both basic and more advanced features. It also contains troubleshooting and service information. Visit the Datacolor website for more information.
Spyder5ELITE has fine-tuned gray calibration and unlimited options for gamma (white point), and luminance. This allows for a more accurate color representation and color profile. The calibration process is quick and easy, and you can evaluate the color accuracy of your monitor monthly or run the ReCAL software to re-calibrate it if necessary. Spyder5ELITE has a compact colourimeter featuring a 7-detector, optical engine. It can achieve up to 55% accuracy in low luminance.
Spyder5
Spyder5 color calibrated monitors are designed to accurately reproduce colors. The Spyder5 color calibrated monitor consists of a sensor, software, and allows users to change the colors and then compare them to standard. The Spyder then adjusts your monitor's red and green levels to match those of the standard. The calibration settings are saved to a file by the Spyder software after the calibration. This means that the monitor's settings will be restored when the computer is restarted.
A Spyder5 monitor calibrated to REC. 709, the most well-known color standard. It can also be calibrated up to 2.2/6500K for best color reproduction. This tool is ideal for video and photo production.
Spyder5 Elite
Datacolor Spyder5 Elite, a color calibrated display monitor, allows you see the exact colors of your monitor. You will need to download the included software, connect the Spyder and calibrate the monitor. The online activation process will be completed by entering your Spyder serial number and name.

Spyder5 Elite software also includes a wizard to help you navigate the process. It also has an optional Studio Match feature that helps users achieve consistency across their monitors. You can also choose to manually adjust certain settings, such as the Gamma and White Point. Software also provides presets for adjusting the brightness of your monitor.
FAQ
Cameras: Where to Buy?
There are lots of places online where you can buy cameras. We recommend purchasing from a trusted retailer such as B&H Photo Video. They have knowledgeable staff that can help answer any questions you may have.
B&H ships your order quickly and securely.
Check out this video to learn more about purchasing cameras.
What can I do to learn photography?
There are many methods to learn how you can take amazing photos. There are several options. You can read a book, go to a class, or join an internet community. It's better to learn the art yourself, if your goal is to take great pictures. That way, you have complete control over what goes into each photo. You'll only get better as long as your learning continues.
One of the best aspects about digital photography is that it doesn't require any expensive equipment. You only need a computer and an internet connection to take pictures. The rest is up to you.
These are some suggestions to help you get started.
-
Familiarize yourself with the manual settings for your camera.
-
Learn how to use the controls.
-
Photograph lots.
-
These should be edited.
-
These should be shared.
-
Keep practicing.
-
Experiment.
-
You can try different perspectives and angles.
-
Use light sources creatively.
-
Practice makes perfect.
-
Never be afraid to fail.
-
Be patient.
-
Have fun!
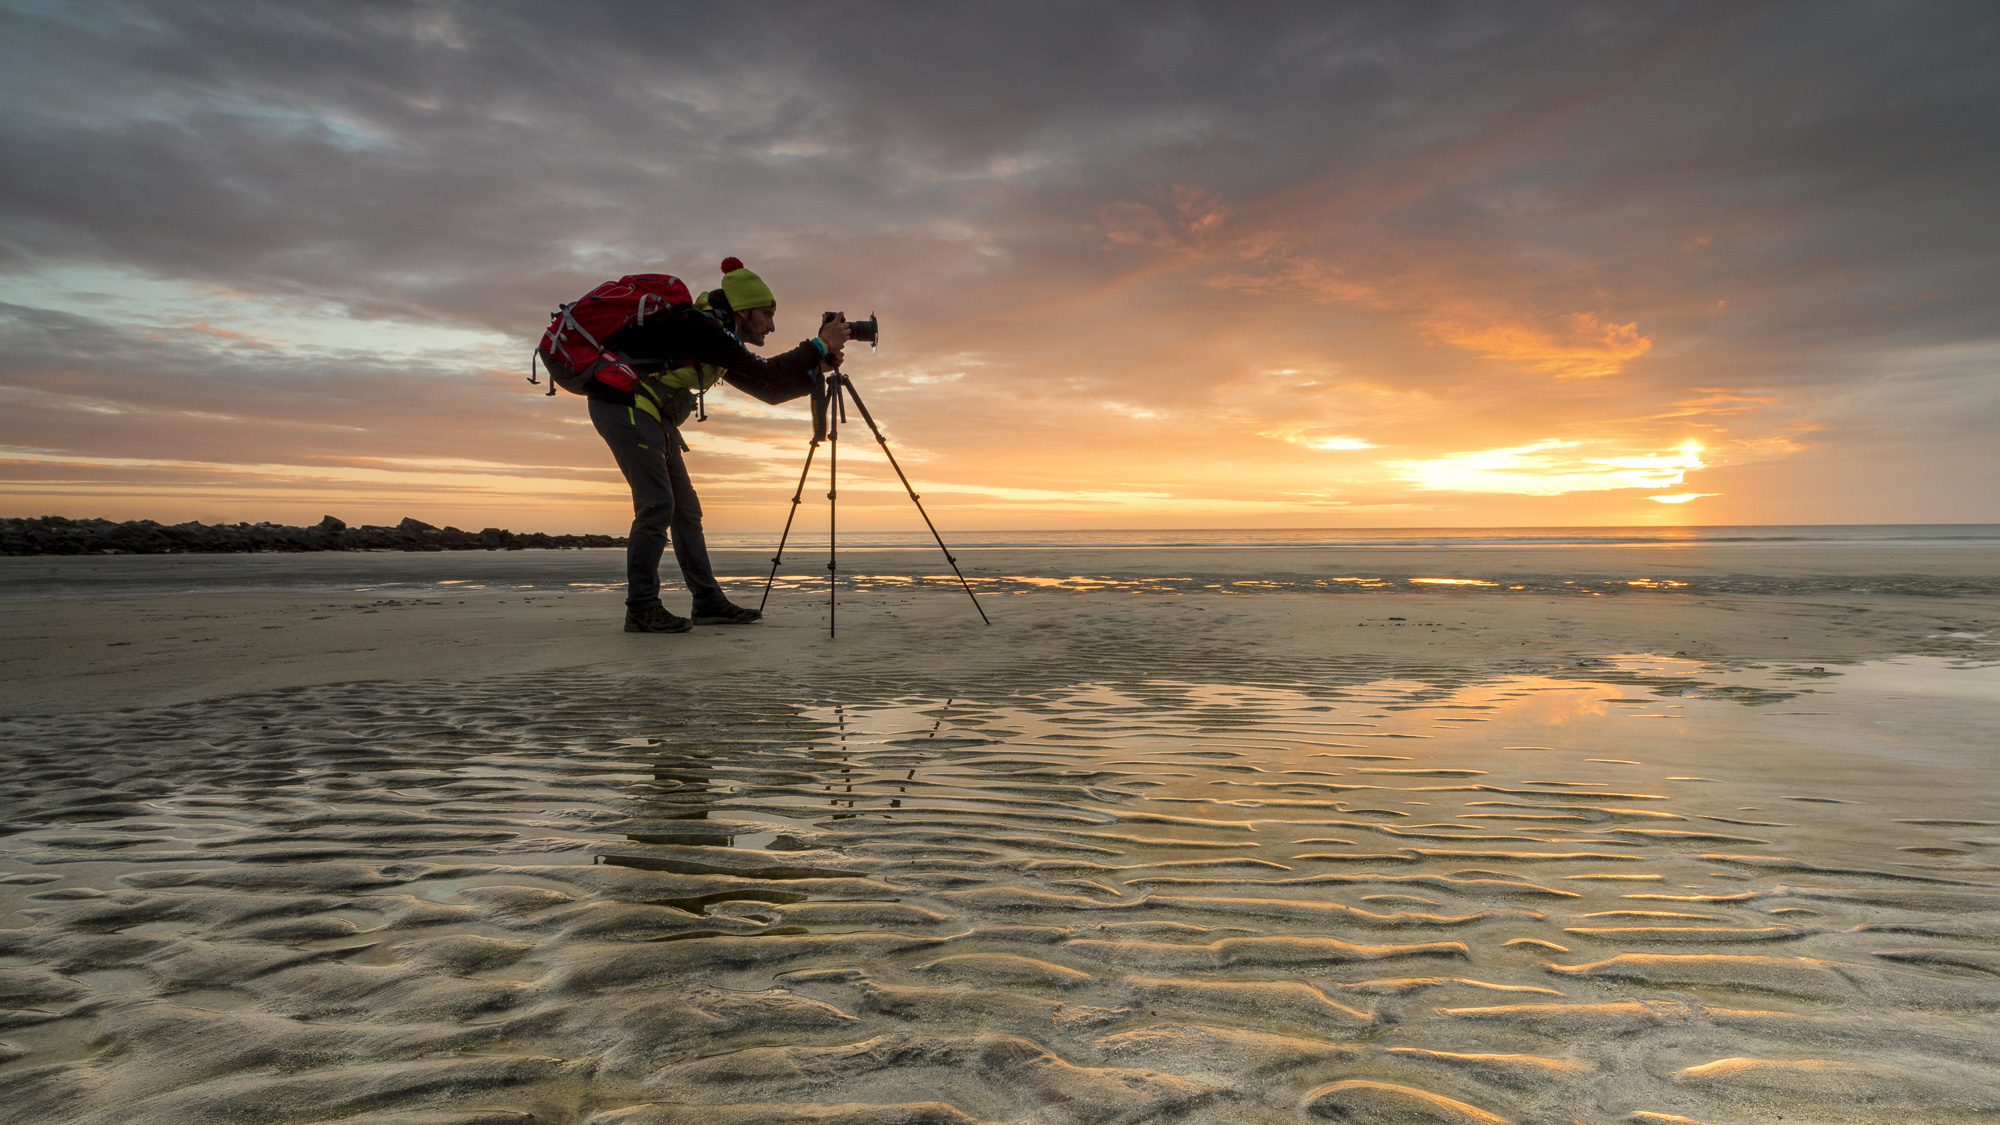
Do I Need A Tripod?
This is one of those questions that everyone asks. A tripod isn’t always needed, but it can be very useful.
This allows you to keep your camera steady even when taking slow shutter speeds. Tripods can be a huge help when you are shooting landscapes or stationary subjects.
However, a tripod can blurriness if you are photographing moving subjects, such as people or athletes. So, how do you know which situations require a tripod?
A tripod is useful in situations where you want to take pictures of fast action and stationary subjects. Examples include:
-
Sports
-
People
-
Landscapes
-
Close-ups
-
Macro shots
This test will help you determine if you need a tripod. Keep your camera still, and then look through the viewfinder. If you see blurred lines or movement, then you definitely need a tripod.
If you don’t see blurring, adding a tripod is unlikely to make any difference.
These are just a few tips to help you decide whether or not to purchase a tripod.
-
Your tripod should have smooth legs. This prevents unwanted vibrations from shaking your camera.
-
A tripod is a good choice. Some tripods are made out of plastic and may not be very durable. Consider a tripod made of metal.
-
You might consider purchasing a remote control. This remote control lets you remotely control your camera. It can automatically fire the shutter when you press the button.
-
Look for a tripod that has a 360-degree rotating head. This allows you to place your camera horizontally and vertically.
-
Be aware that tripods are not cheap. Expect to pay $100-200. You'll still get a lot for your money.
-
Accessories such as filters and memory cards should be considered.
-
Check your local stores before buying online. Many retailers offer free shipping.
-
Read reviews to determine what customers think about a particular product.
-
Ask family and friends who have similar products.
-
For customer feedback, visit message boards and forums.
-
User reviews can be found online.
-
Use websites like Amazon.com to compare prices and read customer feedback.
-
Take a look at these photo galleries to see what other photographers do with tripods.
How can I improve the quality of my photos on my phone
Amazing photos are possible with minimal equipment. Amazing photos can be taken with your smartphone.
You just have to know how to use all its features and learn some basic techniques.
Many apps are available for iOS and Android that allow you to easily edit and share photos.
These five tips will help you take better photos.
-
Set Up Your Camera App. Your camera application should be already installed on your device. If your camera app isn't installed on your device, download it from Google Play.
-
Use effects and filters. You can change the look of your photo with filters and effects without even touching it.
-
Adjust Exposure. Adjusting exposure helps you control the brightness of your picture.
-
Photograph in the Right Light Bright light allows you to better see the details of your subject. Low light photography allows you to capture shadows and highlights.
-
Take Pictures of People. Photographing people can show others what you are most passionate about.
You can learn more about how to capture better photos by checking out our article, 5 Tips To Improve Your Photography Skills on a Smartphone
Light Room is a great way to enhance your photos.
You can get great photos if you start early. It's better if you take as many shots possible before you decide on the ones that give the most value.
Lightroom allows this because it lets you see the effects of different settings on each photo. These settings can be adjusted on the fly without having to go back into Photoshop. This lets you quickly experiment with what looks great and what doesn't.
Statistics
- By March 2014, about 3 million were purchased monthly, about 30 percent of the peak sales total. (en.wikipedia.org)
- The second easiest way to get blurry photos 100% of the time is to use a cheap filter on the front of your lens. (photographylife.com)
- There are people out there who will pick at flaws they can only see in 100% crops of your photos. (wikihow.com)
- In this case, 100% of readers who voted found the article helpful, earning it our reader-approved status. (wikihow.com)
External Links
How To
How to take macro photographs in photography
Macro photography can be defined as the ability of taking pictures at close range of small objects, such insects or flowers. The term "macro" comes from the Greek word makros (makros), meaning large. If your lens has a focal distance greater than 50mm you can photograph objects that are extremely close up.
A macro lens that is good should have a long working range and a fast aperture to get sharp images. You also want to avoid movement while taking photos because anything that moves during exposure could blur your image.
Here are some tips and tricks to make great macro shots:
-
Use a tripod. Use a tripod. You'll be less likely to move while you shoot.
-
Pick the right lighting. The majority of macro lenses include built-in light filter, but you can buy one separately if necessary. This prevents excessive exposure.
-
Be patient! Shooting macros takes practice. Even though you might only see one tiny bug or flower at a time, it is worthwhile to continue shooting until you capture it.
-
RAW file format allows you to shoot in it. RAW files contain more data than standard JPEGs, storing more detail. Because you can edit the RAW files later, such as cropping or color corrections, they are ideal for editing.
-
The background is important. Even if your foreground object is beautiful, the background can still add interest to your photo. Make sure to include it in the photo.
-
Keep learning.