Cost of living in Pago Pago, American Samoa
Depending on your job, the cost to live in Pago-Pago can run from $28,000 to $42,000 annually. Although it might seem appealing to simply live on the couch and not worry about the additional expenses, Pago-Pago's cost of living is considerably higher than other countries. In fact, the cost of living in Pago-Pago, American Samoa is 24% higher than the average cost of living in the US. Transportation, health, utilities and other expenses are all included in cost of living.
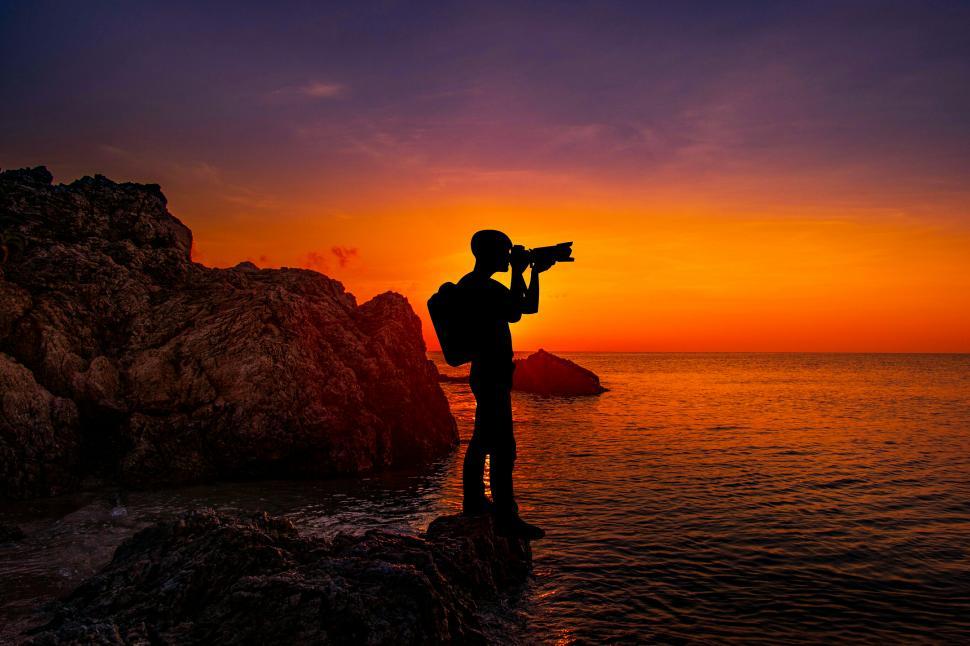
The lush rainforest and breathtaking ocean views will allow you to get away from it all for a while. Divers will also have the opportunity to view abundant marine life. Divers will be delighted by the beautiful reefs and exotic species of fish that surround the island. It also boasts a strong US Naval history and gun placements from WWII. Pago-Pago is home to affordable American goods.
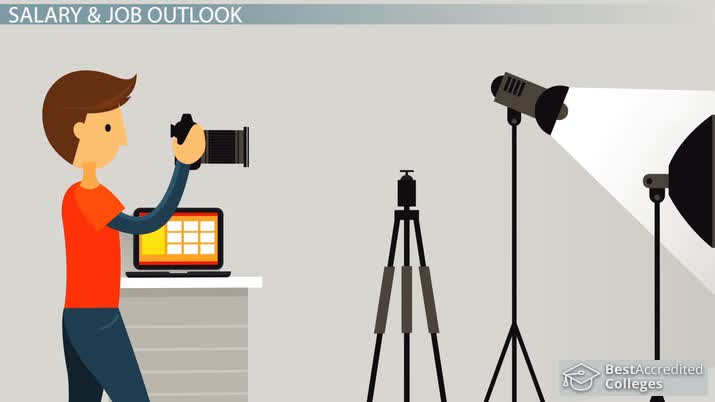
Average annual salary of advertising photographers in Richardson TX
Richardson, TX is home to a $59,365 average annual salary for photographers. That's a $27 hourly rate. Added to that, an average photographer makes an additional $1,116 in bonus payments per year. The salary figures were compiled from surveys done by Richardson employers. They range from $43,362 to $72,653 for senior level photographers. These professionals have a potential growth rate of approximately 11 percent over five years.
Richardson, Texas has a cost of living that is 4% less than the national average. This figure is calculated by adding the total costs of food, transportation, utilities, health care, and miscellaneous expenses. Richardson, TX's cost-of-living is also lower than that of the nation. The median annual salary in Richardson for advertising photographers is $37185. This is over 50% less than the US average.
Education requirements for advertising photographers
Advertising photographers typically require a degree in photography along with some courses in marketing or graphic design. Coursework in these fields teaches students the common stylistic choices that advertising photographers need to know. Students will also learn the technical aspects of creating stunning photos and editing photos. Professional portfolios are essential before a photographer can apply for a job in the advertising industry. Many employers require certification in addition to education and experience.

Advertising photography requires creativity. Photographers for advertising will often capture unique stories for clients. Advertising photography is not complete without taking photos of celebrities. It takes extensive travel to different places for one shoot. Professionists need to be able keep track of expenses. These professionals must be comfortable writing and speaking English. Those with excellent communication skills will find jobs. Advertising photographers may need to travel long distances to meet clients.
FAQ
Do I Need A Tripod?
This is a question everyone asks. The truth is that a tripod isn't always necessary, but it can come in handy.
It can be used to steady your camera while you take slow shutter speeds pictures. A tripod is a great option for landscapes and other stationary subjects.
However, using a tripod to photograph moving subjects like people or sports can result in blurriness. How can you tell which situations call for a tripod and why?
A tripod can be useful in any situation where you need to capture fast action or stationary subjects. Examples include:
-
Sports
-
People
-
Landscapes
-
Close-ups
-
Macro shots
If you're unsure whether you need a tripod, try this test. Keep your camera still, and then look through the viewfinder. You will need a tripod if you see blurred lines and movement.
If you don’t see blurring, adding a tripod is unlikely to make any difference.
These are just a few tips to help you decide whether or not to purchase a tripod.
-
Make sure your tripod has smooth legs. This will stop unwanted vibrations shaking your camera.
-
Make sure you choose a sturdy tripod. Some tripods are made out of plastic and may not be very durable. Consider a tripod made of metal.
-
A remote release is a great option. This allows you to control your camera remotely. It can automatically fire the shutter when you press the button.
-
A tripod that can rotate 360 degrees is a good choice. This makes it much easier to position your cameras horizontally or vertically.
-
You should keep in mind that tripods don't come cheap. Expect to spend around $100-200. However, you'll get lots of value for your dollar.
-
Accessories such as memory cards and filters are important.
-
Before ordering online, you should check in your local shops. Many retailers offer free shipping.
-
Read reviews to determine what customers think about a particular product.
-
Ask family members or friends to share similar products.
-
Forums and message boards are a great place to find out about customer experiences.
-
Find user reviews online.
-
Use websites like Amazon.com to compare prices and read customer feedback.
-
Browse photo galleries to get an idea of what photographers do with their tripods.
How can I learn photography by myself?
There are many options for learning how to take great photographs. You have the option to buy a book and attend classes, join an on-line community, or watch YouTube tutorials. But if you want to master the art of taking pictures, there's nothing better than doing it yourself! By doing it yourself, you are in complete control of what goes into each shot. And as long as you keep learning, you'll always improve.
One of the best aspects about digital photography is that it doesn't require any expensive equipment. All you require is an internet-enabled computer and a good camera. The rest is up to you.
Here are some tips to get you started.
-
Learn how to use the manual settings on your camera.
-
Learn how the basic controls work.
-
Take many photos.
-
Modify them.
-
These should be shared.
-
Keep practicing.
-
Experiment.
-
Take a look at the world from different perspectives.
-
Use light sources creatively.
-
Practice makes perfect.
-
Never be afraid to fail.
-
Be patient.
-
Have fun
What is the rule of thirds in photography?
The rule of thirds can be used to create beautiful compositions, without having to use complicated camera settings. It divides your image in nine equal parts, vertically and horizontally. This divides your image into three areas that you would like to see your subject. These are the top (3rd from the left), middle (3rd from center) and bottom (3rd from lower right). You can use these areas as guides for positioning your subject within your frame.
The rule to thirds allows you to avoid placing important elements too closely together or too far apart. They might not have enough space to make an impact on the eye if they are placed close together. They might lose focus if they are too close together.
Statistics
- In this case, 100% of readers who voted found the article helpful, earning it our reader-approved status. (wikihow.com)
- There are people out there who will pick at flaws they can only see in 100% crops of your photos. (wikihow.com)
- The second easiest way to get blurry photos 100% of the time is to use a cheap filter on the front of your lens. (photographylife.com)
- That's the easiest way to get blurry photos 100% of the time. (photographylife.com)
External Links
How To
How to Take Portrait Photos
Portraits are important because it shows who you really are. They also tell your story. Although you may have an old favorite photo of you, now you want to create something new. It's easy not to remember how much fun photographing can be. Here are some tips to help you get started.
-
You need to have enough lighting. The best time to photograph portraits is in the morning and late afternoon. Make sure you don't have direct sunlight shining on your face if you are using flash. This will wash out any details. Avoid shooting at noon. There will be too much shadow.
-
Use a tripod. You won't be able to see movement if you keep the camera still. This means that you will miss the opportunity to freeze motion. Set up your shot before you use a flash. You can then turn the flash off and try again.
-
Photograph close-ups. Closeups can be very useful for showing detail. If you have a bad eye, closeups can appear fake. Pay close attention and observe the noses, eyes, and mouths. Notice anything unusual? Do you see someone with glasses? Are there freckles around her nose? These details add depth to an individual's appearance.
-
You shouldn't force smiles. Smiles are difficult. Smiles can be tricky. Many people smile naturally when feeling happy. You can't force smiles, because it looks forced. Take a moment to think about what makes us laugh. Perhaps you laugh at silly things, such as a cat jumping through an hoop. Maybe you just love to watch paint dry. Whatever it is, keep thinking about it until you start laughing.
-
Find your creative side. Many people think they are boring. Not being boring isn’t bad. Find ways to get out of the normal. Perhaps you ask the person to place his hands behind your back, or pose with his hands behind your back. You might also suggest that he wears a funny hat.
-
Keep practicing. Practice every day and you will eventually be a better photographer. You will notice more interesting things as you get better.
-
Have fun. It should be fun to take photos. Enjoying the process will make you more likely to go back. You'll likely end up with some truly amazing shots.
-
Your work should be shared. When you are confident in taking good photos, please share them with your family. Let them know why you took the photo. Show them where you went. Tell them about your adventures.
-
Be patient. Sometimes you just won't click. It happens every day. Don't worry. Don't worry. Just move onto another image.