There are many techniques that can be used to photograph wildlife. It doesn't matter if you have a DSLR or a digital camera with a flash, timing is key. The right post-processing software is crucial to capture stunning images and not miss them. The hide can be used to capture the perfect shot. Continuous focus mode is a great option. It can be used while you are photographing wildlife to help you achieve dynamic results.
Timing is everything
In photographing wildlife, timing is everything. The timing of wildlife photography is crucial. Animals are not known for being static and often move quickly. This photo was taken as two elephants were moving towards each other, and an elephant baby was about pass the mother. By timing my shot perfectly, I was able to freeze the moment. Animals are also fun to photograph. There are many videos on animal behavior, and it's fascinating watching the humour that they display.
Using a hide
A hide is a fantastic way to capture wildlife action in your photos, especially if you're an avid wildlife photographer. Using a hide is a perfect way to capture wildlife without having to get out of your comfort zone. The best part about a hide is that you can just relax and wait for the perfect moment. You can even bring along a flask of coffee with you to keep you going.
Use a DSLR/mirrorless camera
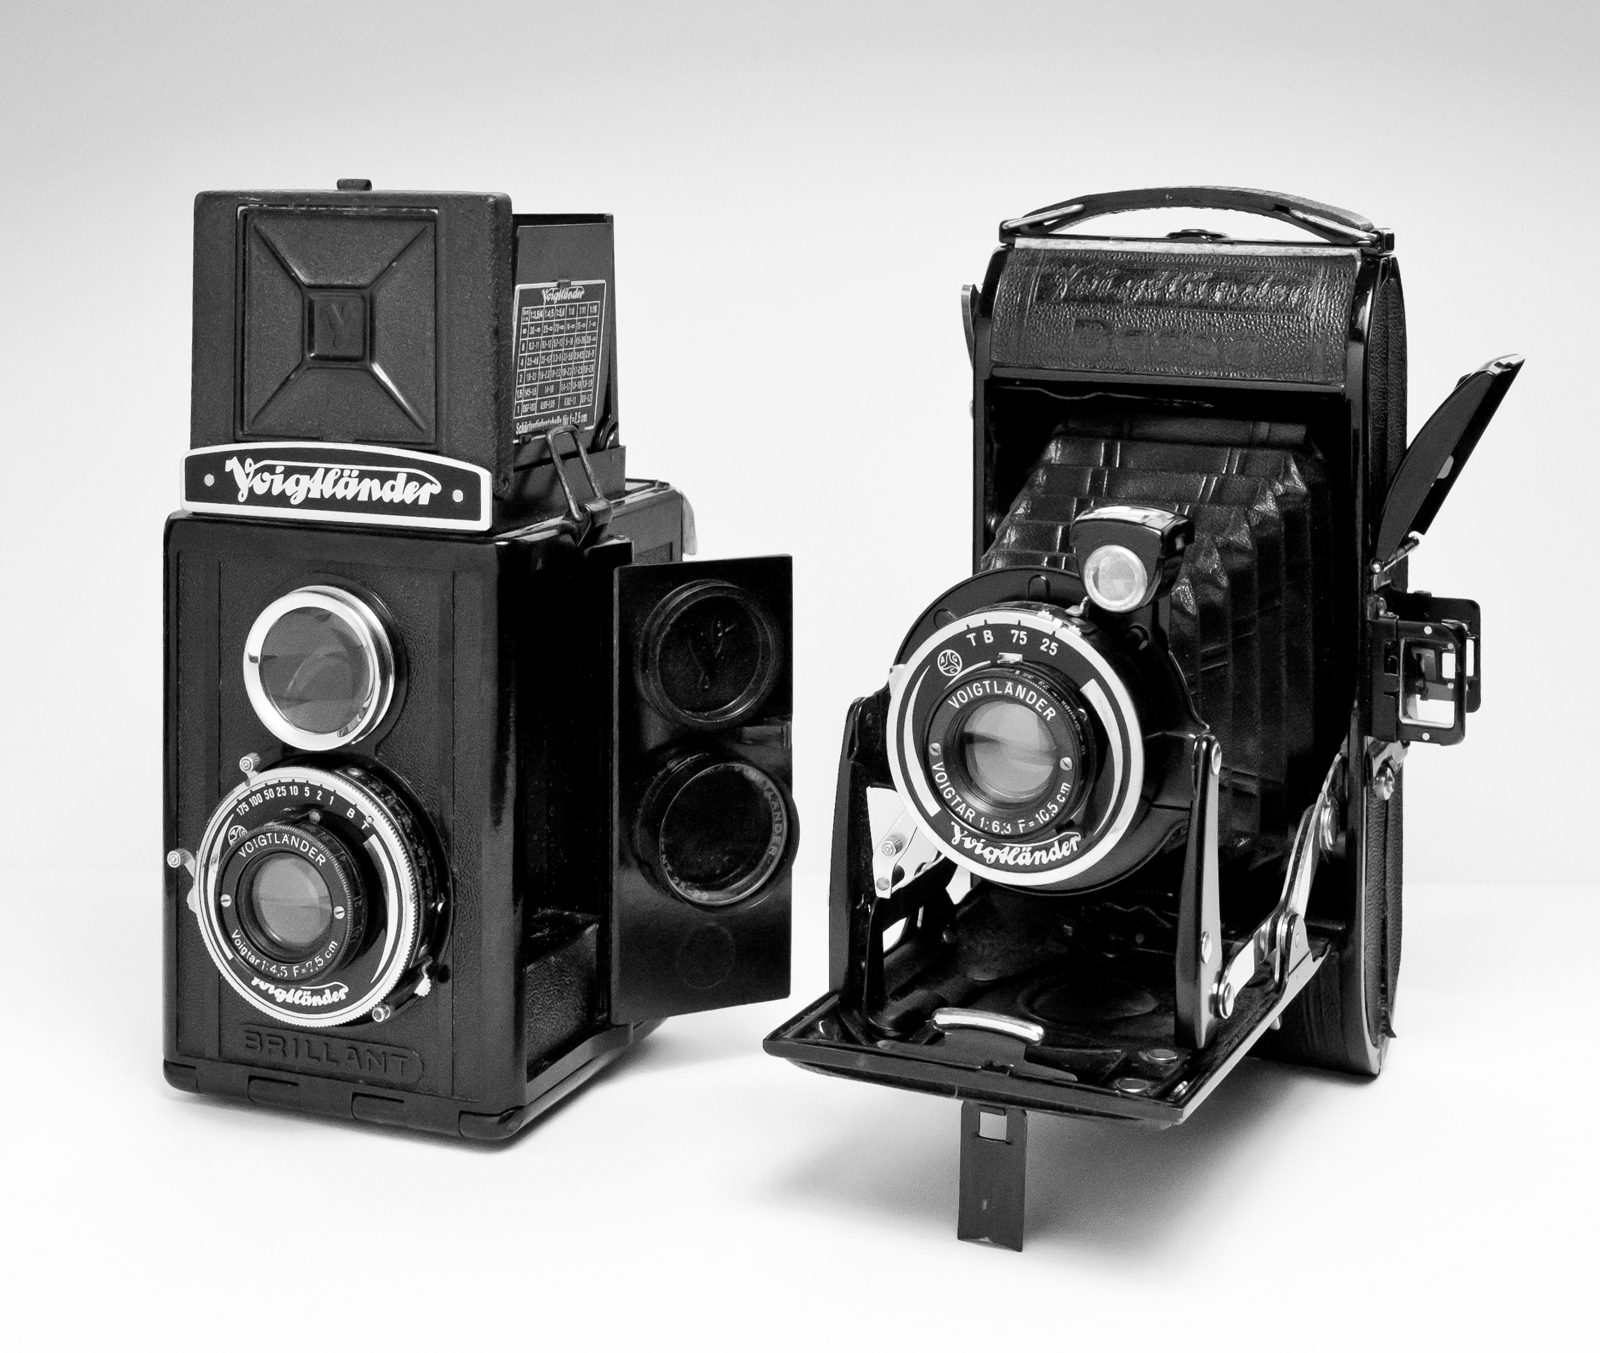
There are several things you need to take into consideration when choosing between a DSLR camera and a digital SLR for wildlife photography. While DSLRs still have their place, the new mirrorless cameras are becoming the standard. Pro nature photographers like Steve Perry use both types to capture the most breathtaking images. Below are some pros and cons to each. Using a mirrorless camera for wildlife photography will give you better shots.
Using continuous focus mode
A great way to make sure your wildlife photos are sharp is to use continuous focus mode. The camera's autofocus will continue to hunt for focus even if you move the camera while you are taking the photo. Be aware that your image may be slightly out-offocus. You should know how to switch between continuous focus and autofocus when photographing wildlife.
Getting close to your subject
If you are trying to photograph wildlife, here are some things you should know. You don't want to get too close if you want to capture a truly unique photo. It's not a good idea to over-exert yourself with photos of animals. Do not ask for a snap - animals aren’t interested in Snapchat. Instead, wait for the perfect moment and watch their every move. You might catch a head turn or interaction with another animal.
Use a tripod
A tripod is an essential tool when photographing wildlife. Long lenses require great stability. Small camera shakes can ruin a shot. Benro Travel Angel FTA28CV1 Steel Tripod is an excellent choice for lightweight tripods. This tripod has been around since 2013. This tripod is lightweight and sturdy at 170 cm high with a maximum weight limit of 10kg.
FAQ
Cameras: Where to Buy?
You can find many places online to buy cameras. B&H Photo Video, however, is recommended as a trustworthy retailer. They have knowledgeable staff that can help answer any questions you may have.
B&H ships securely and quickly, so you can get your order delivered right at your door.
Check out this video to learn more about purchasing cameras.
What Camera Should I Get?
That all depends on what kind of photographer you want to become. For beginners, a simple point-and-shoot is the best camera.
You'll probably want something more advanced once you've learned the basics. It really is up to you what you prefer.
Before you buy a camera, here are some points to remember.
-
Features: What features are you looking for? Do you intend to use manual or autofocus settings? What number of megapixels has your camera? Is there a lookfinder?
-
Price: What amount are you willing spend on your camera? Are you going to buy a new camera every year?
-
Brand: Are you happy with the brand that you choose? You shouldn't settle for less.
-
Functionality: Can you use your camera in low light situations? Can you take high resolution photos?
-
Image Quality: How sharp and clear are your images?
-
Battery Life: How much time will your camera last without needing to be recharged?
-
Accessories: Are you able to attach additional lenses or flashes? ?
How can I make my photos look beautiful?
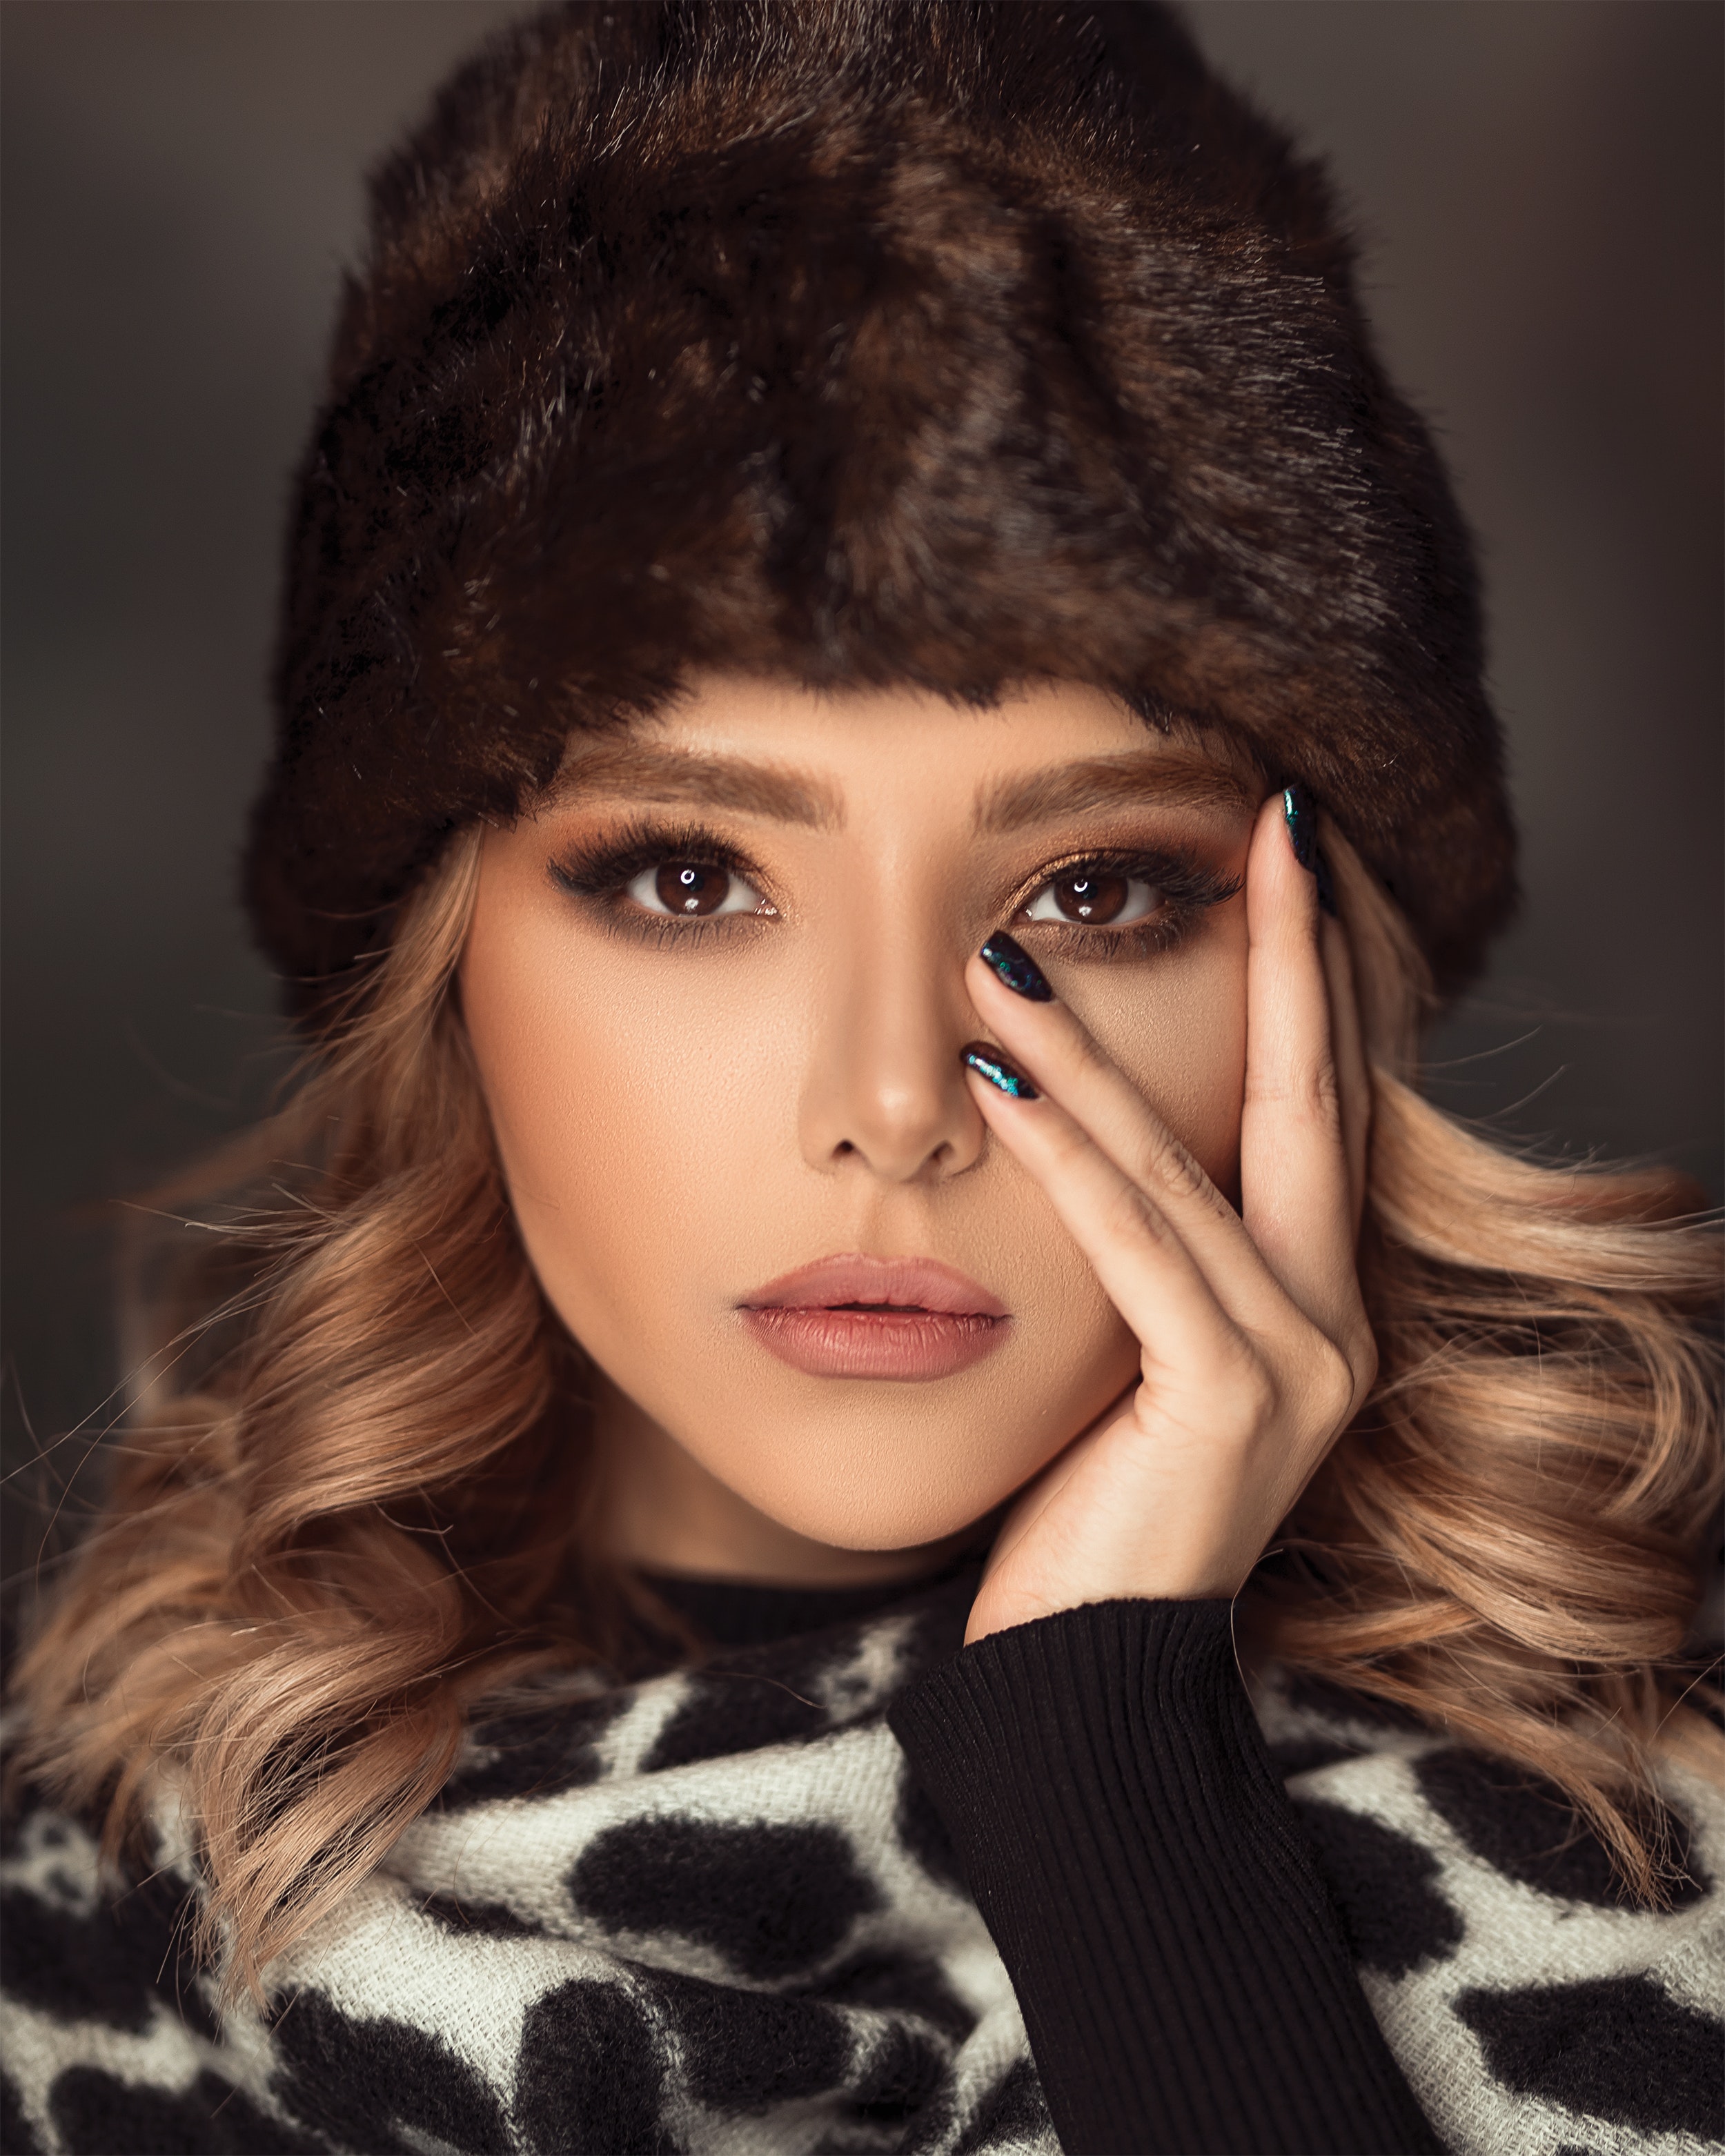
The best way to ensure you look good in photos is to take them yourself. Learn how to pose and what angles look best. Additionally, you'll learn how to use lighting and props in order to enhance your natural beauty.
You will learn how to choose clothes that fit, make-up that suits you, and hairstyles and styles that work for your face.
We'll also show you how to retouch images with Photoshop or other editing software if you aren't satisfied with the results.
Take some self-portraits.
How do I get started with digital photography?
The first thing you should consider when starting out in digital photography is what type of camera you want to use. There are many choices, including DSLRs (digital one-lens reflex cameras), point and shoot compact cameras, camcorders, smartphones, and camcorders. Each camera has different benefits and features. DSLR cameras, however, are larger and heavier than most other types of cameras. Point-and shoot cameras are smaller, lighter and have more automatic settings. Camcorders have excellent video recording capabilities. They may also offer still-photo shooting modes. Smartphones are light and portable and can be carried around easily.
Once you've decided on the type of camera you'd like to buy, you will need to decide whether you would rather buy a used or new one. Used cameras can be found at reasonable prices, especially if they were purchased within the last few years. Because of the large amount of money that manufacturers spend on new technology, older models are more expensive.
Next, purchase lenses. Lenses play a key role in determining the quality of your photographs. These lenses allow you control the focal length of your lens, which allows you to zoom into the scene and not lose focus. Some lenses are equipped with flash units built in, while others require external flash units. A wide range of lenses is available from various brands, each offering unique characteristics.
Finally, you'll need to buy memory cards. Memory cards can store pictures that were taken with your digital camera. You can store hundreds, thousands, or even more pictures depending on the size of the card. Multiplying your memory cards is necessary if you are going to be taking lots of photos.
Statistics
- The second easiest way to get blurry photos 100% of the time is to use a cheap filter on the front of your lens. (photographylife.com)
- There are people out there who will pick at flaws they can only see in 100% crops of your photos. (wikihow.com)
- This article received 13 testimonials, and 100% of readers who voted found it helpful, earning it our reader-approved status. (wikihow.com)
- While I cannot prove that all of those spots were not sensor dust, the photo was taken during a heavy snowstorm…so I guess that 99.8% of the spots are snowflakes. (bhphotovideo.com)
External Links
How To
How to take pictures in low lighting conditions
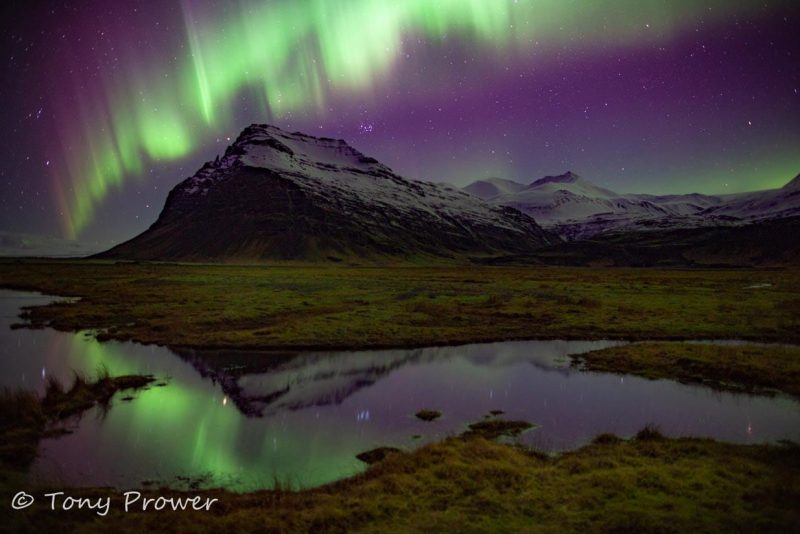
Low-light Photography is when you take photos in dimly lit or dark environments. It requires special equipment and techniques. The main challenges are controlling exposure, white-balance, and sharpness. Two types of low-light photography exist: ambient or flash. Flash photography works well when you have enough light. A flash is required if there isn’t enough light. A flash might be necessary if you are photographing a subject indoors and outside. You can also shoot at night when the moon is shining. You'll be able to capture beautiful colors and shadows this way. Another option is to capture at twilight. Twilight happens when the sun has set but there is still daylight.
You may also want to experiment with long exposures. Long exposures allow you to record images after the shutter has been open for several minutes. When the shutter remains closed, the camera records only light that falls on the sensor. This light falls onto the sensor even after a long exposure. But, the shutter remains closed and no new light enters. Therefore, there is very little movement. To ensure clear images, disable any autofocus and exposure settings. Adjust the ISO setting before you start to shoot. An ISO setting 200 gives you more control over how bright or dim your image appears. When you're ready for the shot, press quickly the shutter button. This will bring the shutter completely to a close. Then, you should hold the shutter button until the last possible second. You will prevent additional light from entering your camera by keeping the shutter button down. Once you have taken the image, wait for a few seconds before you release it. This will allow the camera to process your image. While your image processing is taking place, you will be able to view your photos on your screen. Once you are satisfied, save them on your computer.