Everybody has their reasons for street photography. No matter if you are just starting or an experienced professional, street photography should be enjoyed for its pure joy. If you want to keep your passion alive, join an online photography group and get to know other street photographer. You may also be able to meet other photographers or go on photo walks within your community. Do not be afraid to take different images every time. Remember why street photography is your passion.
Street photography ethics
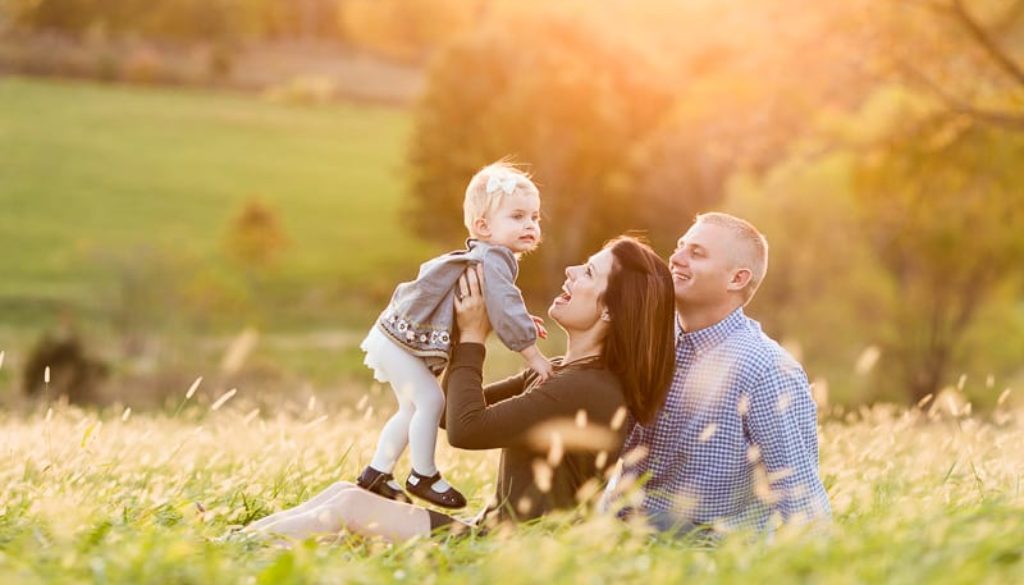
Street photography can be an excellent way to capture fleeting moments. However there are some things that you should consider before taking a subject into motion. Ansel Adams famously said, "There are two people in every picture," so there are nuances that may be more important to you than others. The photographer cannot ask the subject to pose or move on the streets. Street photography also includes street portraits.
Although many smartphone users neglect to consider their subject's interests when creating photos, street photographers spend considerable time producing and presenting work. People who spend time creating their images know more about depth of field, shutter speed, and shutter speed than serious smartphone users. The production of art as well as the recording of daily social relations can be affected by ethical issues.
Street photography techniques
It is important to understand the laws of the place where you intend to photograph people. Street photography is legal for most countries. But, in other countries, you'll need permission from your subject. You can use one of two techniques when photographing strangers on the streets: candid or not-candid. Candid photography means that you don't pose the subject, but non-candid is where you make eye contact.
Zone focusing is another technique. This involves manually prefocusing the lens, setting the camera to deep depths, then waiting for the subject's arrival in the zone. This creates a series of similar images which can be used for creating themes or ideas. You can organize your archive into different themes, so your ideas will naturally evolve. You can experiment with different compositions by putting together separate collections of similar pictures.
Use different camera modes for street photography
Different camera modes are useful when shooting street photography. Manual settings, for example, can help you to freeze movement and keep the subject in focus. They're also ideal for situations where light is consistent. You can use a faster shutter speed if you want to capture fast-paced scenes. You may prefer a slower shutter speed if your subject doesn't move.
For street photography, a slower shutter speed is useful. You should aim for a shutter speed of around a quarter second. This will allow you to freeze the movement of your subject and still capture sharp images. The shutter speed is also important to ensure the correct exposure. The ISO and aperture settings are also crucial. You can also pan to get the perfect shot.

Identifying famous street photographers
It can be difficult to identify the famous street photographers. This style of photography captures everyday life's beauty. It requires some creativity. You can still capture the beauty of the street with just a bit of knowledge from the masters. Some of the most famous street photographers were active during the mid to late 20th century. Dorothea Lange, a woman who lived through the Great Depression of America, captured some of the best images from that period. Her photo became a famous representation of the era.
To take great street photography photos, you must first learn to recognize common elements in street photography. Street photographers often focus on the randomness and beauty of everyday life. Others prefer to capture people and places in their natural environments. It doesn't matter what type of street photography you are using, the background will be important. This will allow you to create the type of photograph that you have always envisioned.
FAQ
Do I Need A Tripod?
This is one of those questions that everyone asks. A tripod isn’t always needed, but it can be very useful.
A tripod allows you to stabilize your camera when taking photos at slow shutter speeds. A tripod can make all the difference when you're photographing landscapes or other stationary subjects.
On the other hand, if you're photographing moving subjects such as sports or people, using a tripod can cause blurriness. How can you tell which situations call for a tripod and why?
A tripod can be useful in any situation where you need to capture fast action or stationary subjects. Examples include:
-
Sports
-
People
-
Landscapes
-
Close-ups
-
Macro shots
Do this test to see if you are unsure if you require a tripod. Hold your camera still and look through the viewfinder. A tripod is necessary if you notice blurred lines or movement.
If you don’t see blurring, adding a tripod is unlikely to make any difference.
However, if you do decide to invest in a tripod, here are some tips to keep in mind.
-
Smooth legs are a must for your tripod. This prevents unwanted vibrations from shaking your camera.
-
Choose a sturdy tripod. Some tripods can be made out of plastic but they are not very durable. Opt for a sturdy metal tripod.
-
Buy a remote release. This lets you control your camera remotely. This allows you to set the shutter to automatically fire when you press it.
-
Look for a tripod that has a 360-degree rotating head. It makes it easy to position your camera horizontally or vertically.
-
Tripods are expensive. Expect to spend around $100-200. However, you'll get a lot of value for your money.
-
Accessories like memory cards and filters should not be forgotten.
-
Before buying online, check with your local store. Many retailers offer free shipping.
-
You can read customer reviews to see what people think of a product.
-
Ask family members or friends to share similar products.
-
You can learn from customers' experiences by visiting message boards and forums.
-
Find user reviews online.
-
Amazon.com makes it easy to compare prices and see customer feedback.
-
Check out these photo galleries for an example of the work that photographers do with their tripods.
What makes a good camera backpack?
Camera bags are essential for protecting your gear during travel. These are some important things to keep in mind as you choose a bag.
-
The bag should be large enough to comfortably hold your accessories and cameras. Don't purchase more than you are going to use.
-
Durability: Buy bags made of durable materials like canvas, nylon or leather. Avoid using plastic bags or fabric bags.
-
Protection: Make sure that your bag offers protection against dirt, moisture, and scratches
-
Organization: You can organize your gear by category to make it easier for you to find the right thing. Your lenses, memory cards, and battery charger can be placed in different compartments.
-
Comfort: Keep your hands free when shooting by using a shoulder strap instead of a handbag. You should also look for a design that is comfortable and has padded straps.
-
Price: Shop around to find the best price. Brands may offer discounts on their products, which can prove to be a plus.
-
Warranty: Ask if the company offers a warranty on its products. If your bag is damaged or lost, this will let you know who to contact.
What equipment is required to start digital photography?
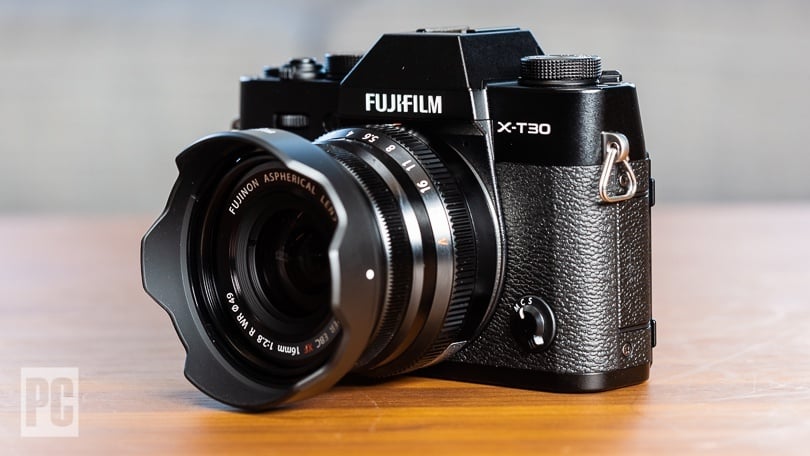
You should first consider what kind of camera you want when you begin digital photography. You have several options, including DSLRs (digital single lens reflex cameras), point-and-shoot compact cameras, camcorders, and smartphones. Each one has its advantages and disadvantages. For example, DSLR cameras offer high-quality images but are typically larger and heavier than other types of cameras. Point-and–shoot cameras can be smaller and lighter than DSLR cameras, and they often have automatic settings that allow for special situations. Camcorders provide excellent video recording capabilities and may also feature still photo shooting modes. Smartphones are lightweight, portable, and light. They offer excellent image quality, advanced features, such as GPS mapping, music playingback, and Internet browsing.
After you have decided which type of camera you want to purchase, you need to decide if you prefer to buy a new or used model. Used cameras can be found at reasonable prices, especially if they were purchased within the last few years. Because manufacturers invest large sums of money in developing new technology, new models tend to be more expensive.
Next, you will need lenses. The quality of your photos is directly affected by the lens. They allow you to control the lens's focal length, allowing you to zoom into the scene without losing focus. Some lenses come with built-in flash units while others need external flash units. There are many brands that offer a wide variety of lenses, each with its own unique characteristics.
You will also need memory cards. Memory cards save pictures taken with your camera. It can hold hundreds to thousands of photos, depending on how big your card is. You will need multiple memory card if you plan on taking many photos.
How can I improve the quality of my photos on my phone
You don't need expensive equipment to take great photos! Amazing images are possible with just a smartphone.
All you need to do is to be able to use the features of the program and to master some basic techniques.
Many apps are available for iOS and Android that allow you to easily edit and share photos.
Here are five tips to help get you started taking better photos.
-
Set Up Your Camera App. Your device should already have your camera app installed. You can download the camera app from Google Play and Apple's App store.
-
Use filters and effects. Effects and filters allow you to alter the appearance of your photos without needing to touch them.
-
Adjust the Exposure. You can control the brightness by changing your exposure.
-
Shoot In The Right Light. Shooting in bright light makes it easier to see details in your subject. Low light photography allows you to capture shadows and highlights.
-
Take Pictures of People. Take pictures of people to show them what you love the most.
To learn more about how to take better photos, check out our article: 5 Tips To Improve Your Photography Skills On A Smartphone.
Statistics
- The second easiest way to get blurry photos 100% of the time is to use a cheap filter on the front of your lens. (photographylife.com)
- This article received 13 testimonials, and 100% of readers who voted found it helpful, earning it our reader-approved status. (wikihow.com)
- While I cannot prove that all of those spots were not sensor dust, the photo was taken during a heavy snowstorm…so I guess that 99.8% of the spots are snowflakes. (bhphotovideo.com)
- There are people out there who will pick at flaws they can only see in 100% crops of your photos. (wikihow.com)
External Links
How To
How to capture pictures under low lighting conditions
Low-light photography can be defined as taking photos in dimly lit and dark environments. This requires special equipment and techniques. The main challenges are controlling exposure, white-balance, and sharpness. There are two kinds of low light photography. Flash photography works best when there is enough lighting around. If there isn’t enough natural lighting, you will need to use a flash. Without a flash, it is possible to get a poor picture if the subject is indoors and not outdoors. You can also shoot at night when the moon is shining. You will get beautiful shadows and colors. Another option is to capture at twilight. Twilight occurs when there is still daylight but the sun has set.
Long exposures are also an option. Long exposures can be used to capture images even if the shutter has been closed for several minutes. If the shutter is closed, the camera records only the light that falls onto the sensor. The light that falls onto the sensor during a long exposure continues to be recorded. However, because the shutter remained shut, no new light enters the lens. The result is that there is very little movement. To ensure you're getting a clear image, turn off any automatic settings like autofocus and auto exposure. You should also adjust the ISO setting prior to you start taking photos. An ISO setting of 200 gives you more flexibility to control how bright or dark your image looks. The shutter button should be pressed quickly when you are ready to take the photo. This will bring the shutter completely to a close. Next, hold the shutter button down until the end. You will prevent additional light from entering your camera by keeping the shutter button down. Wait a few seconds after you have taken the photo before you release the shutter button. This allows the camera time to process the photo. While your image processing is taking place, you will be able to view your photos on your screen. Once you are satisfied, save them on your computer.